This was my first attempt at using random deployment and it turned out very nicely. My board runs from left to right, so let's say left is west and right is east. I mentally divided the board into eight squares by slicing it across the middle from left to right then having four squares on each side of the line. Starting with the French, the squares on the left were numbered from 1-6. Notice that this procedure will result in the center squares being available to both sides. Selecting one French unit, I rolled one die and placed the unit in the corresponding square. Continue until all French units have been placed. Next number the six squares on the east side of the board and randomly deploy the Prussian units.
Each side had six units: two cavalry, three regular infantry, and one skirmish unit. One figure represents one unit. Each unit represents ten soldiers. Each unit can absorb only 15 hits.
Rules were taken from One Hour Wargames (OHW). In the nineteenth century rules, cavalry can charge but cannot shoot. Hits are double when charging flank or rear. The defender cannot hit back. (Note: In Thomas' other nineteenth century rules, found in a different book, the rules are more complex and defenders can strike back when charged. But I was using OHW rules.) The charging unit falls back six inches if the target is not destroyed. Hits by infantry and skirmishers are just the number of spots on the die, unless the defender is behind cover or the shooter is elite. Cavalry can move twelve inches, skirmishers nine inches and infantry six inches. Cavalry can turn only at the start of a movement. Infantry cannot move and shoot in the same turn.
Chance events cards were used.
I was playing as the Prussian commander. The French were assumed to behave in a rational manner. Since they were responding to the actions of the Prussians, they did not have a lot of latitude.
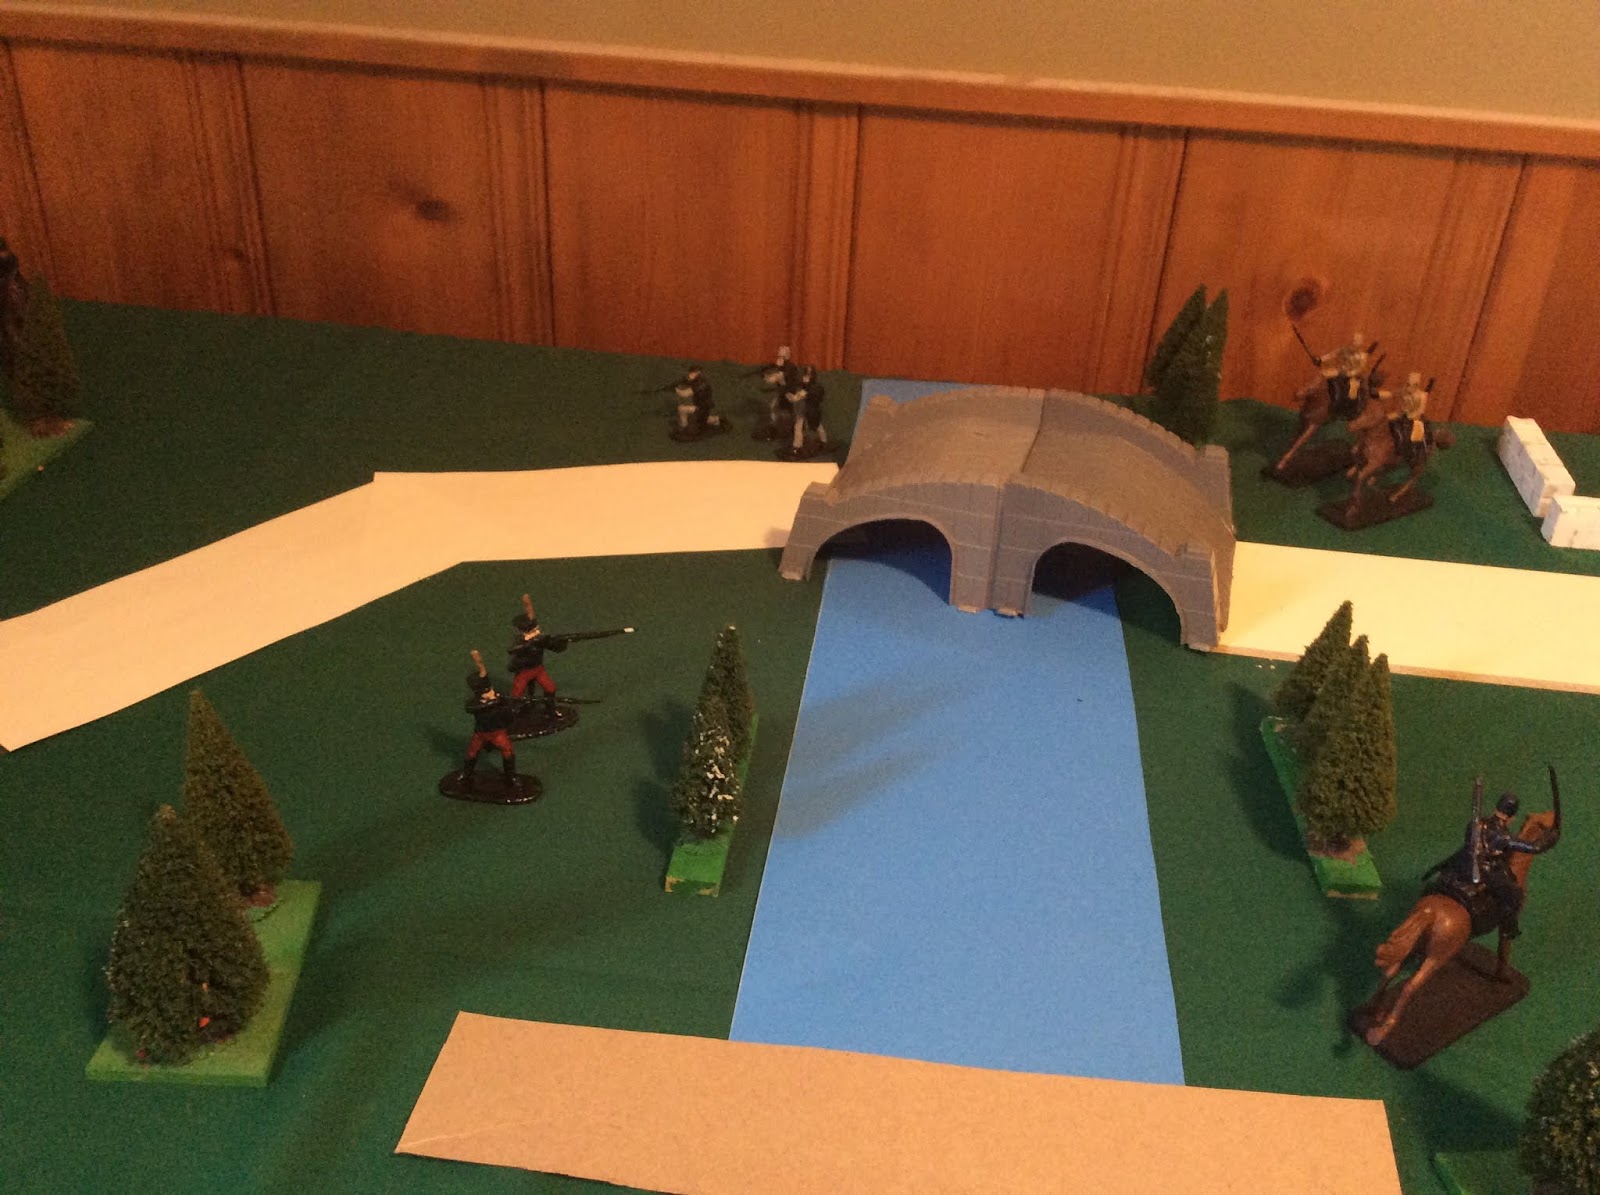
Here is how it unfolded. Deployment resulted in one French cavalry unit in the northwest corner by the tree (not visible). Three Prussian units find themselves across the river in enemy territory. One French cavalry unit is on the Prussian side of the river. One Prussian infantry unit is off to the right (not visible). It will move toward the action as quickly as possible.


While this was happening, the infantry were firing at each other. The straggling Prussian infantry unit finally reached the middle of the bridge, which was in range of the firefight. The roll of the die favored the Prussians. Also, after finishing the French cavalry, the Prussian cavalry were able to run down the surviving infantry.
In sum, it was a devastating victory for the Prussians. Elapsed time: 16 minutes (six rounds). I enjoyed it a lot. Clearly, the random deployment procedure results in an entirely different battle each time it is used. This is much more exciting than a set-piece battle. And now I have much more fondness for cavalry that I did previously. Even if the defending cavalry had been allowed to strike back in melee fashion, the charging units were likely to win. Cavalry are not just for irregular warfare and scouting, except perhaps in the ACW, where instead of charging they dismount to shoot.
No comments:
Post a Comment